Starting a New Project in Xcode
1. Create the Project
- Launch Xcode and choose "Create a new Xcode project" or from within Xcode, Click on File -> New -> Project
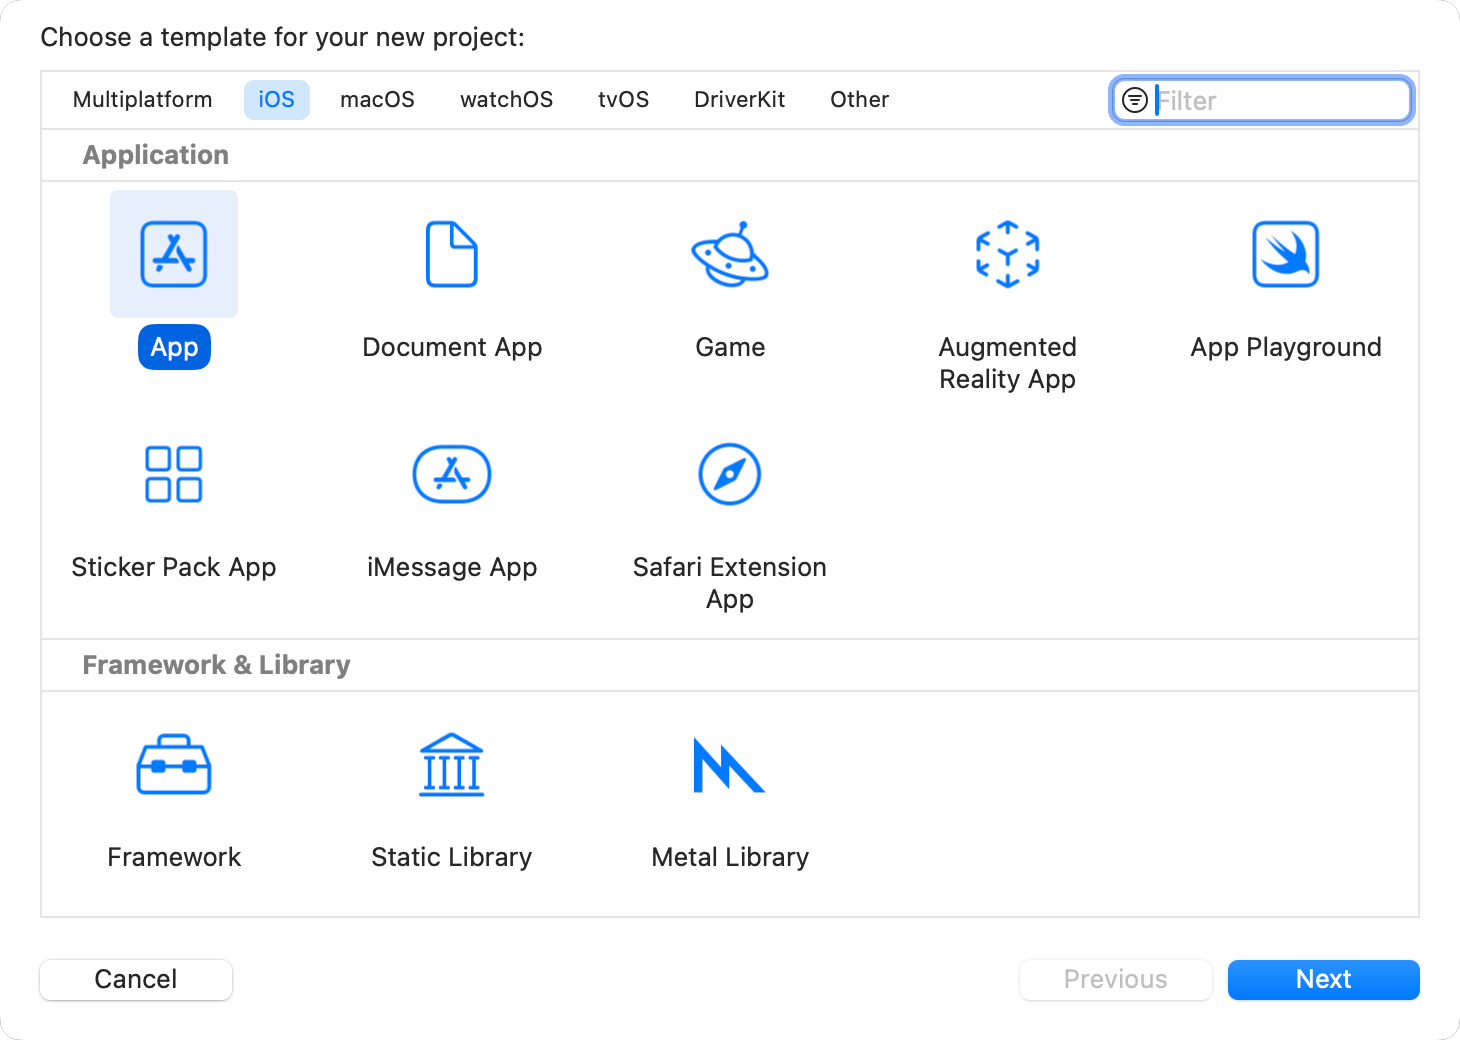
- Create an iOS App, and click Next.
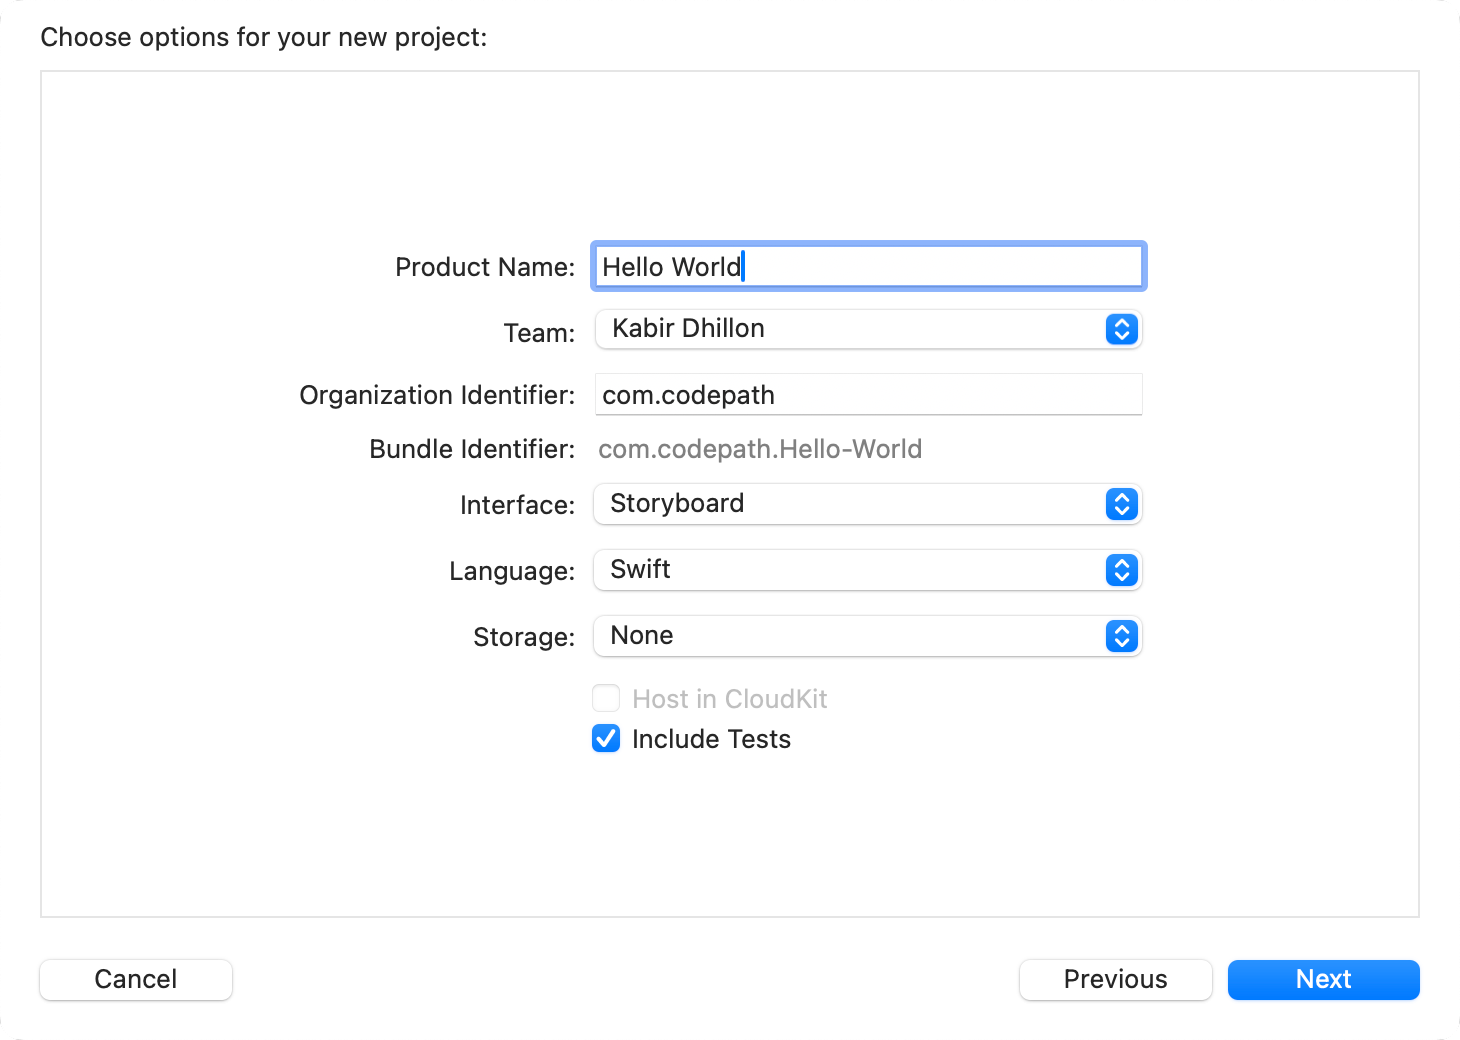
- You'll be presented with a number of options.
-
Product Name - The product name is just the name of your app, e.g., "MyProject"
-
Team - This is tied to your Apple ID. To add your Apple ID, go to Xcode -> Preferences -> Accounts, and click on the + sign on the bottom left.
-
Organization Identifier - By convention, iOS uses reverse domain name notation for identifiers. Type a Unique name -> com.myuniquename
-
Interface - This is how you will be graphically building your user interfaces. Select Storyboard, as it is currently more robust and stable than SwiftUI.
-
Language - Use Swift or Objective-C, depending on your preferences, the course you are enrolled in, or your app requirements.
-
Storage - Leave it as None. Selecting Core Date will add the boilerplate setup code for you.
-
Include Tests - This is optional. Read more about Unit Tests from Apple.
- When you click Next, you'll be prompted for a location to save it. Enable "Create a Git repository."

2. Add .gitignore
The .gitignore file will tell git which files to ignore. Here are a few useful .gitignore templates to start with, depending on if you're using Objective-C or Swift.
